Painting Tutorial: Realistic Stone
/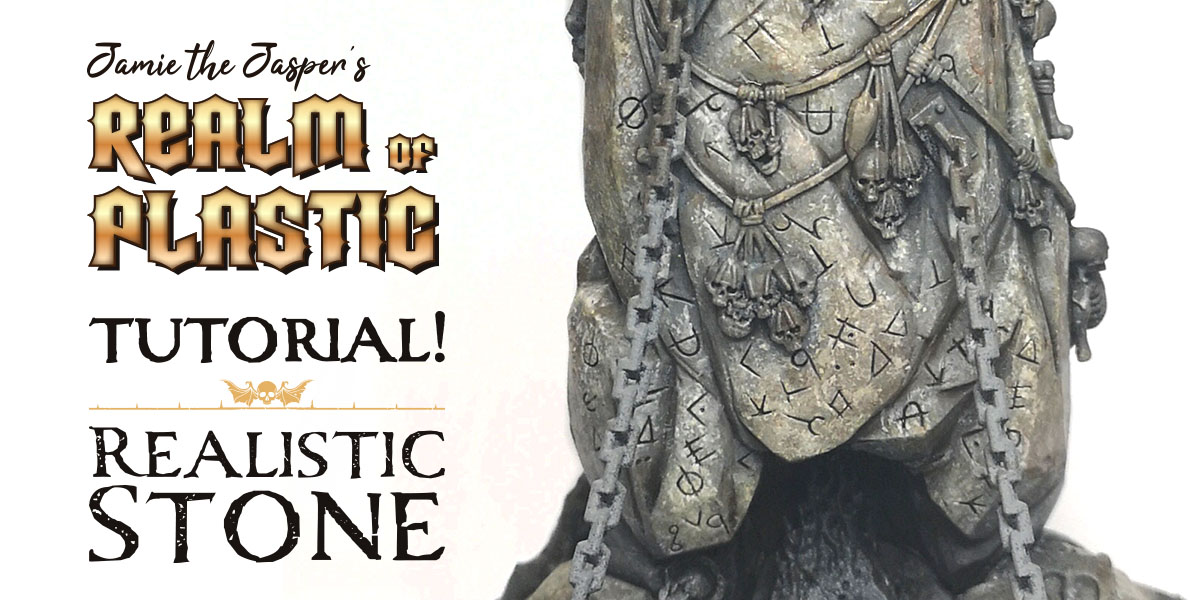
In which Jamie presents a simple but effective tutorial for painting a realistic stone effect.
Introduction
I’m currently in the process of painting up a herdstone for a tentative Warhammer Age of Sigmar Beasts of Chaos army. It took me a long time to settle on a theme and look for the army, but ultimately I’ve decided to go for as realistic and naturalistic a paint job as I can achieve.
There are lots of painting tutorials out there that cover how to paint stone in a wide variety of ways. My method is an amalgamation of various techniques and approaches I’ve found online, with some additional experimentation on my part. You might find this realistic stone tutorial useful when painting a herdstone as shown here, when painting up scenic bases for your Warhammer or Middle Earth models, or when painting other fantasy wargames scenery and terrain. For this tutorial I’ll be using Games Workshop’s Citadel paints range.
Tutorial: How to Paint a Realistic Stone Effect
Click any of the images below to see a larger version.
Step 1
Start by priming the model. In this case I’ve chosen to pre-shade the herdstone by first spraying the whole thing black, then lightly spraying grey from above at a diagonal angle. This causes the grey to hit the upper and raised areas of the model, giving the illusion of the model being lit from above. Since we’re going to be using thinned down paints in the next steps, this shading effect will show through a little and help to add a touch more realism.
Step 2
Next, basecoat the model using a 1:1 mix of Lahmian Medium and Mechanicus Standard Grey, avoiding the very darkest recesses where you wouldn’t expect any light to reach. The medium will thin the paint whilst keeping a better consistency than water, and allowing you to apply the paint more evenly. You may need to apply two or even three coats to get an even coverage, but don’t worry about getting it absolutely perfect - we’re going to cover this layer with a lot of stippling which will help to mask any slight unevenness.
Step 3
Now mix Lahmian Medium with Dawnstone in a 2:1 ratio and flatbrush all of the stone areas. Flatbrushing is like drybrushing, but with more paint on the brush so that it’s wet to the touch (but still not fully loaded). The other difference is that instead of applying paint to only the most raised areas of the model, you’ll be applying paint everywhere except the recesses. I recommend using a layer or base brush for this rather than a dry brush. Try to avoid painting right up to the edges of the basecoat - you still want some of this to show through near the recesses. Start building up more layers towards the raised areas.
Then create a new mix of Lahmian Medium, Dawnstone and Karak Stone in a 2:1:1 ratio. Continue to apply using the flatbrushing technique, this time keeping even further away from the recesses. The idea is to gradually build up many thin layers of lighter and lighter colour to create a gradient effect that suggests natural light and shade.
Step 4
Now for the easy part! Simply apply a wash of Agrax Earthshade to the entire stone area. As always when using shades and washes, be careful not to apply to much, as this will cause it to pool thickly in areas that you really don’t want it to, and can look very unattractive when it dries. If you’re not sure how much to apply, be extra cautious and apply a single thin coat first and let it dry - you can always add more coats later if you feel that the effect isn’t strong enough. Lots of thin washes are always better than one thick one.
Let the Agrax Earthshade dry completely, then move on to the next step.
Step 5
This is actually four steps rolled into one, but they all involve using precisely the same technique, just with three different colour paints. The technique in question is stippling, which is my go-to method of creating mottled, gritty, naturalistic surfaces - you may have seen me use it in my recent Lost City Basing Tutorial. For a more detailed description of the stippling technique I recommend reading that article, but essentially you need to jab at the model with a stiff-bristled brush to apply flecks and dots of paint.
First stipple with Dawnstone, then Rakarth Flesh, followed by Flayed One Flesh and finally Pallid Wych Flesh. With each new colour, start focusing closer and closer towards the raised areas of the stone. Again, you’re looking to create a gradual shift in tone, like a gradient.
If the stone that you’re working on has a lot of large, flat areas (as is the case with the herdstone) then don’t be too precise about the gradient in these areas. A large, flat area with a very smooth gradient won’t look natural, so you can afford to be a bit more haphazard with your stippling here, letting flecks of all four colours mingle together - but still being careful to avoid any nearby recesses.
Step 6
The final step is perhaps the most fun. Again, this is three steps in one, using the same technique with three different colours. This time, the technique is sponging, and we’re going to use it with washes or shades to add some subtle colour variation across the stone.
Tear off a small piece of sponge - the kind that you’d use for washing the dishes is fine, and really any type of sponge will do. The size of the piece you’ll need will vary depending on the size of your model. For the herdstone the piece I used was about an inch across - for a standard infantry base you’d probably want something much smaller.
Next, mix Reikland Fleshshade with either water or Lahmian Medium in a 1:6 ratio. You want it to be very thin. Lahmian Medium will give you a better consistency and end result, but at this ration you’ll be using a lot of it, so water is more economical. For my herdstone I used water - it’s meant that the wash has dried oddly in some places, but you can only tell if you look very closely. It’s perfectly fine for the tabletop.
Dip your sponge in the thin shade mix. It will soak up a lot, so you’ll want to press the sponge against a paper towel to remove some of the excess. Then dab the sponge haphazardly over the stone surface, just in a few areas - only cover about 20% of the model. You may find that the wash begins to pool in the recesses, which you don’t want. If this happens keep dabbing at it with the sponge, spreading it around a little if necessary. You’re trying to create a very subtle mottled effect on the surface. It may be barely noticeable at first, but as you continue to build up colour the combined effect will be worth it.
Next, do exactly the same thing with Seraphim Sepia and Athonian Camoshade, thinning them down in the same way and applying each to approximately 20% of the stone surface. Try to avoid layering two different washes over the same area, but if they blend together a little around the edges that’s fine. Some areas should have no wash applied at all, leaving the original stone colour showing through. Wait for the washes to dry and that’s it! You’re done! For my herdstone I plan to take things a step further by adding moss and lichen, but that’s a subject for another tutorial.
If this tutorial has inspired you to paint a herdstone yourself, why not order one from Firestorm Games with a substantial discount on the recommended retail price. They also stock all the paints and brushes used in the tutorial. Ordering from Firestorm Games via this link helps keep the light of Azyr shining on the Realm of Plastic.
Please take a moment to hit ‘like’ below, share this article or just leave a comment to say ‘Hi!’. It would mean a lot to me. Thanks for reading!